After an unseasonably cool start to the season, warm weather has swept across the country with some areas in the Midwest and MidAtlantic already hitting the high 80’s and 90’s.
This means irrigation contractors are in full swing getting customer’s irrigation systems ready for the season. With all the rush of the season, its important to take some time and make sure that your team has a thorough outline or checklist of everything that needs to be done when they are onsite at a customer’s property. This ensures that each visit is optimized and the chance of wasteful callbacks are avoided.
That’s why we’ve connected with Doug Armour, Central’s Commercial Irrigation Technical Manager, to get his insight on a detailed checklist for spring startups.
From Doug Armour:
The first visit of the season to a customer’s property offers many opportunities. It gives your team a chance to evaluate and inspect the current system, repair any damage, upgrade customers to wifi or other devices, sell other services/installations, and re-engage with your customers.
Below are 5 must-do steps on every spring irrigation checklist:
1. Meet with Your Customer
On every visit, I recommend meeting with your customer. This gives the opportunity to walk their property and have a conversation about their needs and wants. This can translate into additional services or jobs. Are they interested in landscape lighting, hardscape, outdoor audio, mosquito control? Do they need drainage? This gives you an opportunity to make those discoveries.
In addition, this is the perfect time to discuss their current system, walk through any specific damages that were repaired, discuss opportunities to upgrade to Wi-Fi controllers or add in rain sensors. Make sure your team is capitalizing on every visit.
2. Thoroughly Check Water Sources
This is the time to check all valves, mainlines and other water sources to make sure everything is working as it should be.
Below is a detailed step-by-step process for thoroughly checking water supply sources:
- The main waterline should be wired shut upon arrival
- Before opening the water, be sure that all mainline drains are closed
- Open last mainline zone valves/couplers to expel trapped air as the line fills
- Slowly open mainline shutoff valve so trapped air can escape
- Once trapped air has been removed and mainline has slowly filled, close the open valves/couplers
- Once the mainline is full, check to see if the water meter gauges are moving or standing still. If not movement, no leaks are present.
- Note: for this to be accurate, there needs to be either a dedicated water meter for irrigation or the building’s water cannot be used while the check is taking place
- If the water meter gauge(s) are moving there is most likely a leak somewhere in the mainline.
- From here, you will need to troubleshoot and location the source of the leak. Check both inside and out. Leaks are often located where the valve meets the mainline
- Repair any leaks found and recheck the water meters again
- Recharge mainlines
- If a proper identification tag is not installed, be sure to add one at the shutoff to indicate what the valve controls
- Be sure to inform customers or build staff how to shut off the water for the irrigation system
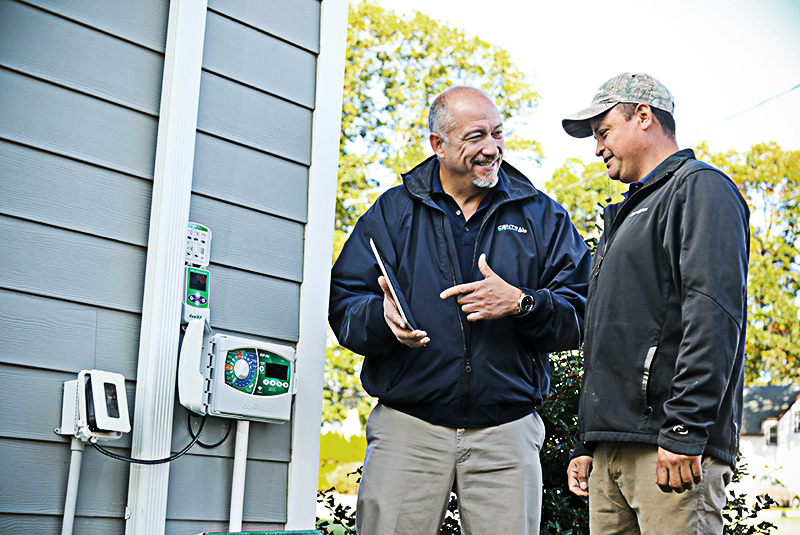
3. Check Controllers and Rain Sensors
Controllers are vital to making sure that the system is running efficiently and any issues are caught early. Each controller should be checked at the beginning of the season.
Below is the detailed step-by-step process for checking a controller:
- Using a multi-meter check that the 110-volt power to controller receptacle is on
- If no power: Check the electrical panel and be sure the breaker has not been tripped. If breaker has not been tripped and still no power, inform the customer to have their licensed electrician fix the issue
- Once 110-volt power is on, turn on the controller and test the 24-volt post is receiving approximately 24 volts.
- Do not install battery until after these checks. Batteries will power up the display making everything seem like it is working properly
- If there is not 24 volts inside controller, controller transformer is probably bad. Replace transformer or have the controller serviced
- Once the controller is on and receiving the 24 volts, you can replace the old batteries
Next you should test that the rain sensor is working properly and not operating during wet weather.
- Rain sensor should be set to “bypass”
- Set controller to correct time, day, month, year. Double check that everything is correct, including a.m. vs p.m.
- Run the test inspection on a semi-automatic program with at least five-minutes to test every zone/station
- Visit each zone to make sure it is working appropriately
- Once test is complete, remove from the “bypass” mode and reprogram controller with the appropriate watering schedule
- Record spring start-up schedule for your customer and keep a copy of that record
4. Zone by Zone Inspection
Finally, its time to walk the site and make sure every zone/station is fully inspected. Be sure your team is checking each of these items thoroughly to avoid costly callbacks.
- All sprinklers, rotors, emitters, etc. should be straight on all sides
- Are all sprinklers the correct height? They should not be too low, too heigh, or blocked
- All nozzles should be clean and clear
- Extend risers (nipples) above 24 inches are staked and tied off for support
- All risers are straight on all sides and the nozzle should be cleaned and cleared
- If any sprinklers are broken, replacement as per the original equipment, this keeps the systems uniformity in application rate
- All couplers should be cleaned to easily locate, they should be flush with grade or slightly lower
- Valve boxes should also be cleaned and cleared of any debris, they should be flush with grade
- If not already done, make sure valve boxes have been numbered to identify the zone they water
- If anything needs to be replaced, be sure to communicate this with your customer before doing the work. Show them what is not working/broken and explain why it needs to be repaired
5. Update or Create a Site Sketch
Now is the time to evaluate the layout of the site and if you do not have a sketch created, do so. This will help to make future visits and repairs easier.
You need to create a site sketch:
- Indicate locations for property layout, building, driveway, landscape features, water supply, water shutoff, blowout, controllers, etc.
- GPS locate the devices and log onto site plan
You already have a site sketch:
- Double check that all component locations are correct. If not, make the necessary updates
- Add any information you think should be on file about this customer’s system
Finally, rely on Central to help, whether it’s questions about troubleshooting or installation, showing you how to use specific equipment, or sharing insight and recommendations on the newest technologies. We stay at the leading edge of the industry and we’re ready to help you grow!
About Doug Armour
Doug Armour is certified by the Irrigation Association as a Landscape Irrigation Water Manager, in addition he holds certifications with Hunter and Rain Bird, and has been factory trained with Tucor. He is an excellent resource for any technical questions about irrigation systems and for troubleshooting systems that are not working properly.