
It is often said that a photo is worth a thousand words, but many contractors overlook the benefits that a photo can provide when they are busy on job sites and working behind the scenes making sure everything runs smoothly. If you aren’t taking some time to focus on job-related photography your business could be missing out on major opportunities to strengthen and grow with your current and potential customers.
Advancements in technology continue to make digital photography simpler, easier and even quicker to use. In today’s data driven world, the vast majority of people have access to devices that are capable of capturing high quality photos, the most common device being the smart phone. Within a matter of seconds, a smart phone is capable of taking photos that can even rival the quality of professional photo equipment and can fit right into a pocket.
The Why and When to Take Project Photos
Customers often rely on their initial impression of a contractor before deciding whether or not to conduct business with them. In today’s ever growing digital world, that initial impression is made well before you even have a chance to meet with a potential customer face-to-face. This makes it crucial to take advantage of every opportunity to build your online image. High quality photos are a great way to demonstrate the high-quality level of work that you provide. The best part is that these photos do not have to come with a heavy price tag and can be used on everything from a website to social media.
As a result of incorporating project photography into your business process, you will also begin to build a rolling catalog with each project that you complete. Over time, this can be formed into a rock-solid sales tool that can be used when speaking to customers. Instead of having to convince a customer of the amazing work that you provide, now you can show them. Remember that After photos are much more powerful when they are accompanied by Before photos. This helps provide a reference point of where the project started. It also is a great way to highlight the amount of work that went into completing the project. To emphasize this even more, take some photos at different stages within the build so you can document each major step.
This combination of Before, During, and After photos lets you create a visual story for each project. To follow best practices, take photos well before you even begin working on a project. One of the best opportunities to capture great Before photos is during an initial survey of a property with the Customer. This lets you capture photos of the property in its raw, beginning stage, and can be a helpful reference when putting together a quote. Don’t forget that photos are a great tool that you can use to secure your reputation with a customer. For example, Before photos are a great way to capture existing damage or system issues. This can help prevent any misunderstandings with a customer, demonstrates your attention to details and can prevent mistakenly being blamed for property damage that was already existing on the property.
Follow these tips to kick your photography skills into high gear!
1. Practice
- The best way to develop better photography skills is to practice! Gone are the days of film rolls and waiting for them to be developed, so take lots of photos! With this being said, don’t overthink it and keep things simple. Your goal should always be to take the highest quality photo possible while using the device that works best for you. This should be an enjoyable way to document progress and is meant to strengthen the business!
2. Take Test Photos
- An awesome advantage of digital photography is that you instantly get to see how the photos came out. Take a couple of test photos to get them dialed in.
3. Keep it Simple
- How’s the lighting? Are the photos blurry? Is it in focus? Did my finger get in the way? These are all things that may come up when taking photos, but there is usually a simple solution. One thing that always helps – make sure that the camera lens is clean!
4. Avoid Instantly Deleting “Bad” Photos
- Pro Tip: Resist the urge to delete “bad” photos while on site. Snap away and look through the photos AFTER you’ve finished taking photos. This can help prevent the accidental deletion of photos that you intended to use! It is always best to leave yourself with lots of options to choose from, so snap away!
5. Landscape, Landscape, Landscape
- Always take your project photos in a landscape orientation (horizontally) so that the image is wider than it is tall. This allows for a wider view of the project and more flexibility in resizing/cropping of the image. For example, these images can be cropped to be square if the edges are slightly pulled inwards. This doesn’t mean you can’t take a photo of something in portrait orientation (vertically), but think about how you plan on using the photo. When in doubt, take a couple shots of both!
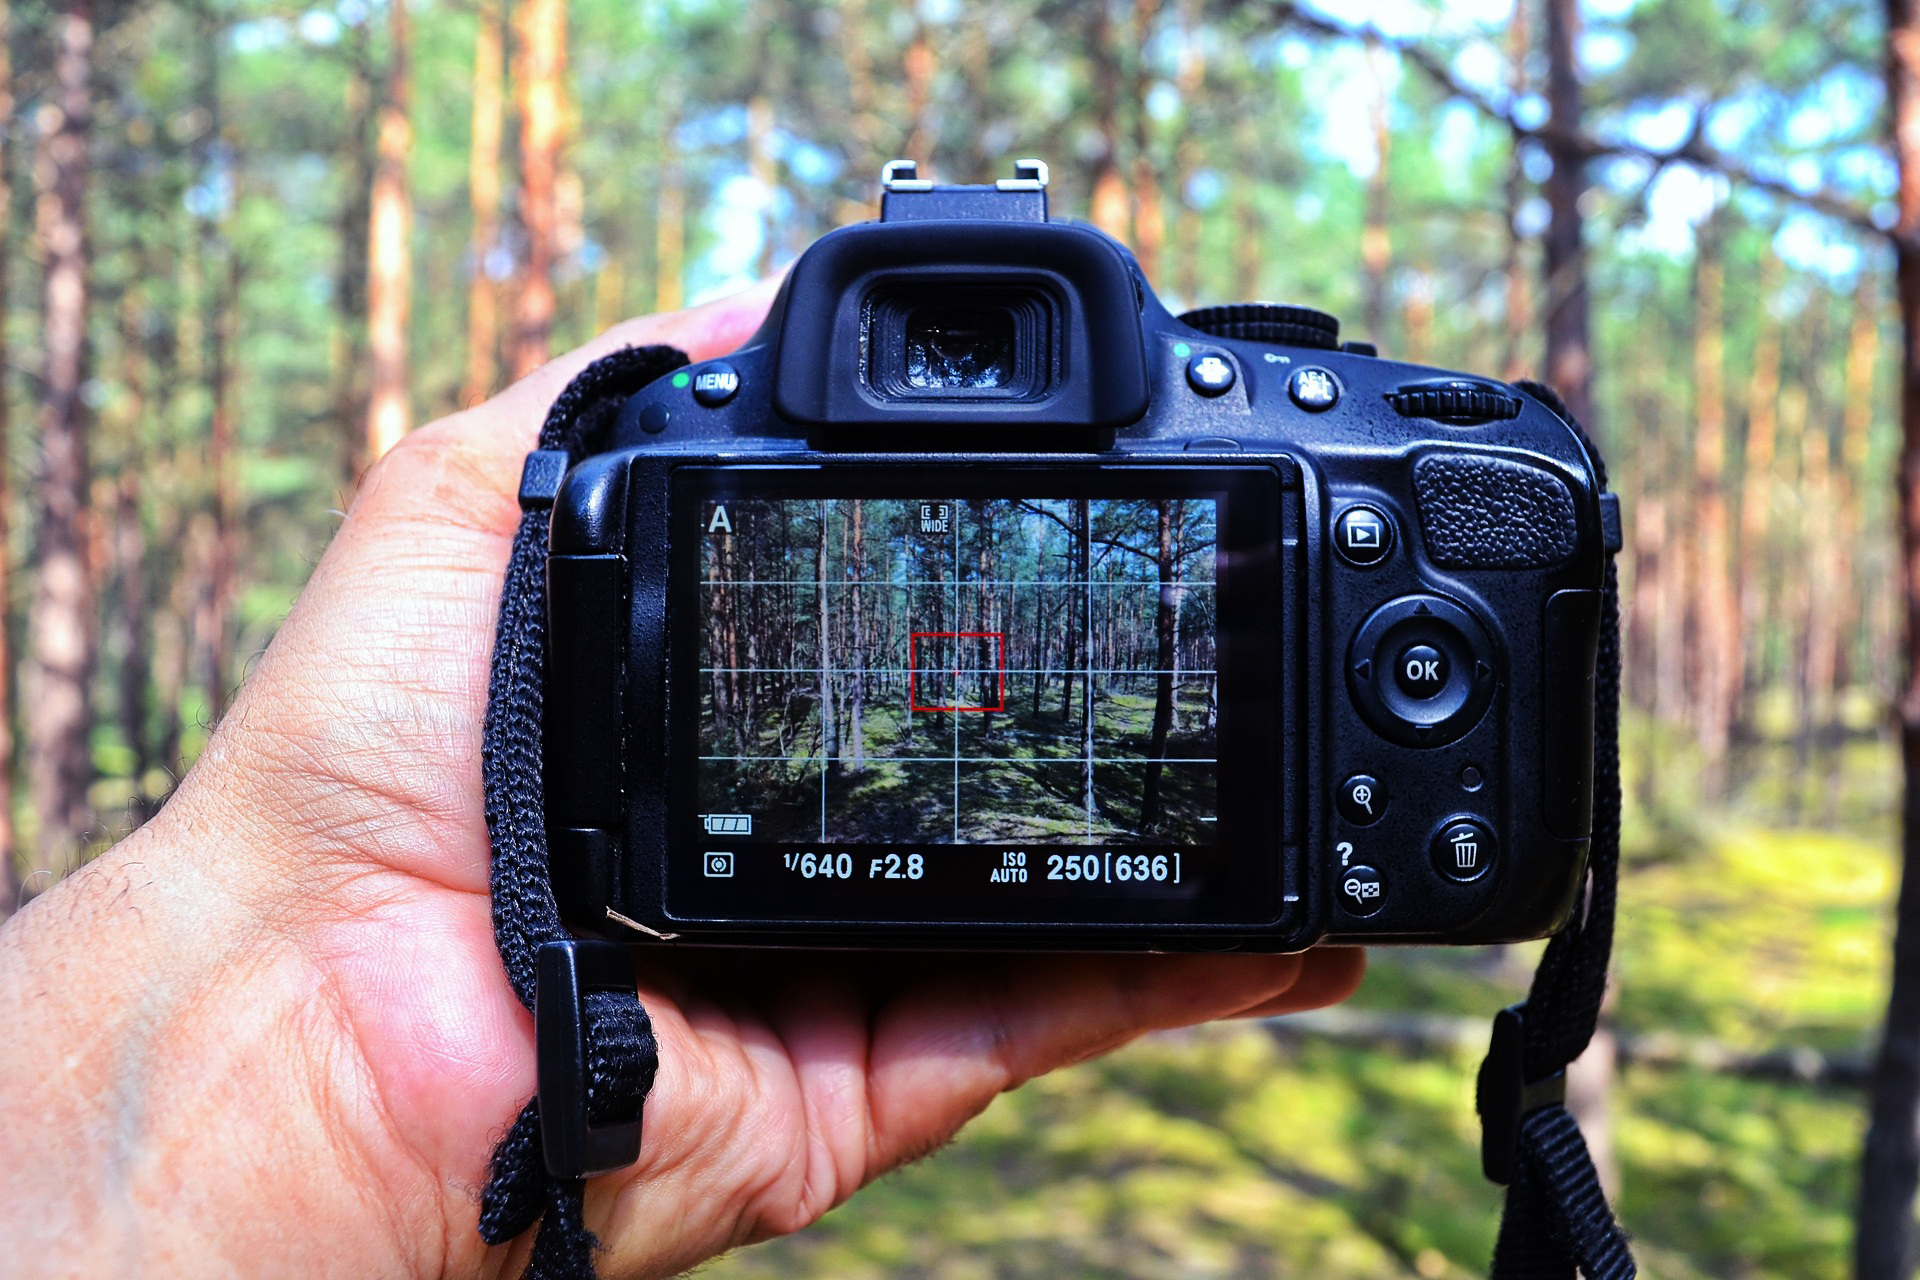
6. Make Things Easier with Camera Guides
Enable the photo guides in your camera settings! These guides are visual aids that can be used to line up your subject and make sure that it is in focus. One guide that can really help keep your Before & After Photos consistent is the grid setting. Pick out some reference points or visually straight lines so you can set you camera up in, roughly, the same spot each time.

Finally
Whether it’s marketing support, website audits, or design support, Central is the right partner for your business. Our highly experienced Marketing team has decades of experience to help you identify best-practices and implement initiatives that deliver results. You can even use Central Reward Points for purchasing cameras, drones, or other equipment to help in your photography efforts.We’re ready to help you grow!