Although ultimately geography dictates when to winterize, for most of the country winterization season has arrived. Correctly winterizing a pump station is crucial – if a step is missed, the station can sustain freeze damage, costing valuable time and money (replacement parts can cost thousands of dollars, depending on the extent of the damage).
The following winterization checklist will walk you through the process of winterizing a pump station step by step, helping you to protect the investment and give you assurance that come springtime the irrigation system will be ready to go.
STEP 1
Turn the H-O-A switch to the OFF position.
STEP 2
Close discharge valve and blow out the system downstream from the pump.
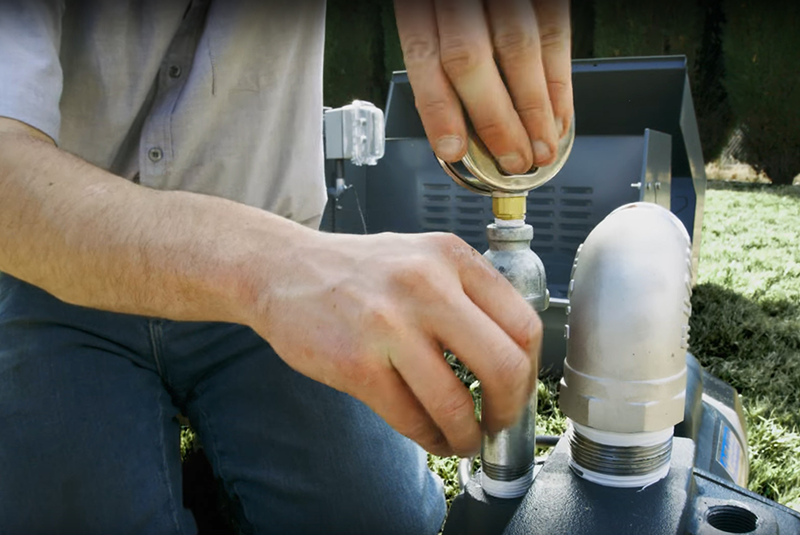
STEP 3
Remove all drain plugs from piping and pump; do not reinstall plugs, keep in a safe place and install when starting system again. Drain all water from filters and tanks.
STEP 4
Drain the Suction or turn off water from incoming pressure.
STEP 5
Disconnect ALL monitoring devices, such as transducers, temperature sensors or pressure sensors. At a minimum, all water should be removed and, if possible, monitoring devices could be stored somewhere that they will not risk freezing.
STEP 6
Make sure all bolts on check and butterfly valves are loosened to let water drain and do not tighten until starting system again.
ADDITONALLY – Did you know most manufacturers can include heaters and insulation? This can help with winterization and cold snaps that can be damaging to pump stations during operation.
Finally
Central offers a Pump Hotline dedicated to assisting staff and customers during regular business hours. If you have questions about the winterization process, call or email the experts at the Central Pump Hotline at 1-844-PUMP-101 or pumps@centraltis.com. Partner with us to troubleshoot leaks, pressure/motor/voltage/valve/and control panel issues. Find support for all major brands of irrigation pumps and most pump stations.